Are you facing issues while balancing your turntable arm and getting confused? There are often instances when we found it tricky to set up this musical equipment for offering the best performances. If you are dealing with the same problem, then this post will help you for sure. Although it looks very difficult to balance the tonearm, but you will amaze to see how easy it is if done properly. It is a very important task that you should perform on a regular basis for minimizing wear and making the sound better.
In this post, we will tell you about a step by step process through you can easily turn this complicated task into an easier one. Please follow each of them carefully to avoid a problem later.
Starting the process
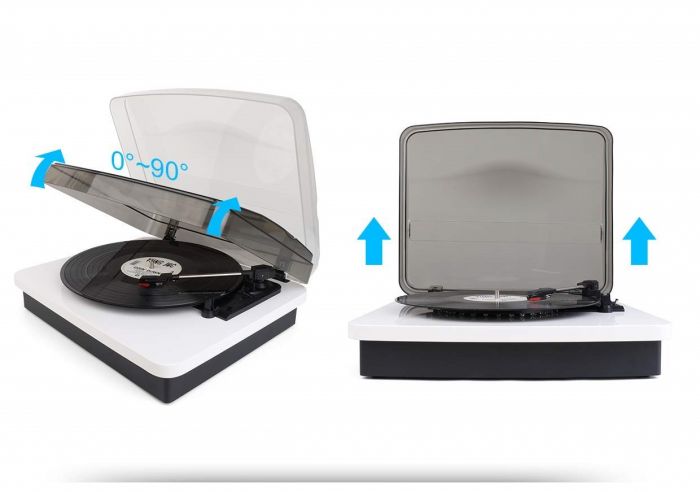
There is a need to remove the dust cover from the turntable so that one can explore the tonearm assembly area. Try to complete this job by standing in front of this equipment. It will give you a clear view of the turntable.
Finding anti-skating control
Now, you have to find out the anti-skating control on the turntable. It can be like a fishing type wire having a hanging weight or a rotating wheel that come with numbered display near the arm.
If you want to make things easier, then check out the instructions that have clear information about its position. You should set the anti-skating control to zero after finding it. This setting will ensure that the tonearm doesn’t move in the outward direction when you balance it.
Removing stylus cover

Some of the turntable models come with a stylus cover for providing it proper safety during the process. There are chances that it may get damaged due to your figure cover. It is better to follow extra-precautions for preventing any damage later.
Unclipping the tonearm
In this step, our main job is to unclip the tonearm. You can do it by holding the headshell using your hands. Make sure index finger of your right hand stay on the bottom whereas its thumb stays on the top. The tonearm should be unclipped from the armrest using the other hand. Also, leave the cue lever as it is.
Moving tonearm
Now, it is time for moving the tonearm and lifting the headshell in the way you are looking to play a record from the starting. Don’t leave the headshell and keep holding it using your right hand. You should ensure that the stylus should not touch the platter in any case because it can result in damaging the records.
Recommended setting
Now, you need to turn the tonearm until you find the recommended setting. It specifically depends on the type of cartridge you are using. There is a great chance that you must be not unaware of it. If yes, then check out on the specification of your cartridge.
Checking balance
You have to give adequate room to the headshell between the fingers to find the perfect balance. The tracking force reduces with a clockwise turn, whereas an anticlockwise turn can increase it.
If your tonearm is tilting towards the headshell, it means there is more than the required amount of weight applied, and you should rotate the counterweight in the clockwise direction.
If your tonearm is tilting towards the counterweight, then it means there is not adequate weight applied. In that case, you need to rotate the counterweight in an anticlockwise direction.
Finding the perfect balance
It can be annoying to find the perfect balance, and you need to be patient during this process. Try to turn the counterweight very slightly so that you don’t miss it. Once you reach near the ideal balance point, release the headshell in the tonearm. The perfect balance can define as the one where the tonearm floats on its own freely without anyone to hold the headshell.
Final Inspection
You need to inspect the tonearm from the perspective of the turntable. It can be performed by leveling the eyes to the tonearm. Make the necessary minor adjustments to reach perfectness.
Adjusting anti-skating weight
Once everything gets finalized, you should adjust the anti-skating weight the setting according to the weight.
That’s all; it is time for enjoying a great music experience. You may feel some difficulties in the starting, and you will learn on time.
Conclusion
A perfect setting on the turntable allows the user to have perfect music experience. You can do it on your own by the following the easy steps mentioned in this post. There is a greater chance you won’t face many difficulties doing it. If you still find them, then please tell us in the comment section. We will try to solve your queries as soon as possible.
Leave a Reply